Setting up a dedicated charging station for your devices can save time, reduce clutter, and keep all your gadgets powered and ready to go. Whether you have smartphones, tablets, smartwatches, or wireless earbuds, having a central spot for charging helps maintain order and makes life easier. This guide walks you through the process of creating a neat, functional charging station at home or in the office.
Why Set Up a Charging Station?
A charging station offers several benefits:
– Organization: Keeps all your chargers and devices in one place.
– Convenience: Easily locate and power devices without searching for cables.
– Safety: Reduces the risk of tripping over cords or using damaged chargers.
– Efficiency: Helps you manage charging times better and prevents overcharging.
Choosing the Right Location
Before gathering supplies, decide where your charging station will be:
– Accessibility: Pick a spot you use frequently, like a desk, kitchen counter, or bedside table.
– Power Source: Make sure there’s a power outlet nearby.
– Ventilation: Avoid enclosed spaces that could cause devices to overheat.
– Space: Look for a surface with enough room for your devices and chargers.
What You’ll Need
Here’s a checklist of items to set up a basic charging station:
– Multiple USB charging ports or a multi-port charger
– Charging cables for your specific devices (e.g., Lightning, USB-C, Micro-USB)
– Cable organizer or clips
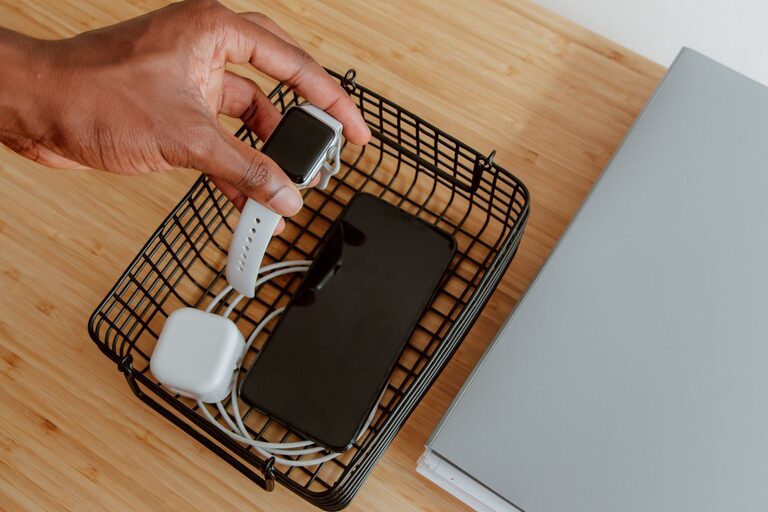
– A tray, box, or stand to hold devices while charging
– Power strip with surge protection (optional but recommended)
– Labeling supplies (optional, for shared spaces)
Step-by-Step Setup Guide
1. Gather and Test Your Charging Devices
Collect all your charging cables, adapters, and devices. Check that each charger works properly. Replace any damaged cords to avoid safety hazards.
2. Select a Multi-Port Charger
Instead of using multiple wall plugs, invest in a multi-port USB charger. These chargers have several USB outputs in one device, helping reduce clutter and free up wall outlets.
3. Organize Cables
Cables can quickly become tangled. Use cable organizers, clips, or even velcro straps to manage cords. Arrange cables so they’re easy to plug in and unplug without creating a mess.
4. Arrange Your Devices
Place a tray, charging stand, or small box on your chosen surface to hold devices while they charge. Keeping devices off the floor or crowded spaces prevents damage and loss.
5. Connect and Label
Plug your charger into the power outlet or power strip. Connect cables and, if in a shared area, consider labeling cables or charger ports so everyone knows which device goes where.
6. Maintain Your Station
Periodically check the station for frayed cables or dust buildup. Clean the area and reorganize as needed to keep everything functioning smoothly.
Tips for a Better Charging Station
– Wireless Charging: For compatible devices, wireless charging pads can simplify your setup even more.
– Portable Options: Consider a charging station with a battery pack if you want to take it on the go.
– Smart Plugs: Use smart plugs or timers to control charging times and save energy.
– Child Safety: If you have children, position the station out of reach or use covers for outlets.
– Aesthetics: Choose containers and organizers that match your room decor to blend functionality with style.
Troubleshooting Common Issues
– If devices aren’t charging, check cable connections and power source.
– Avoid overloading chargers beyond their recommended limits.
– Replace cables regularly if you notice slower charging speeds.
– Test different ports on multi-port chargers in case one is faulty.
Conclusion
Setting up a charging station is a simple yet effective way to keep your devices powered, your space tidy, and your tech organized. By selecting the right location, using quality chargers, and managing cables thoughtfully, you can create a reliable and attractive charging hub suitable for any room. Start small, customize as needed, and enjoy the convenience of having all your devices ready whenever you need them.